Simple Wall-Mount Power Switch for rPi – pt2
Part 2 : Designing the box
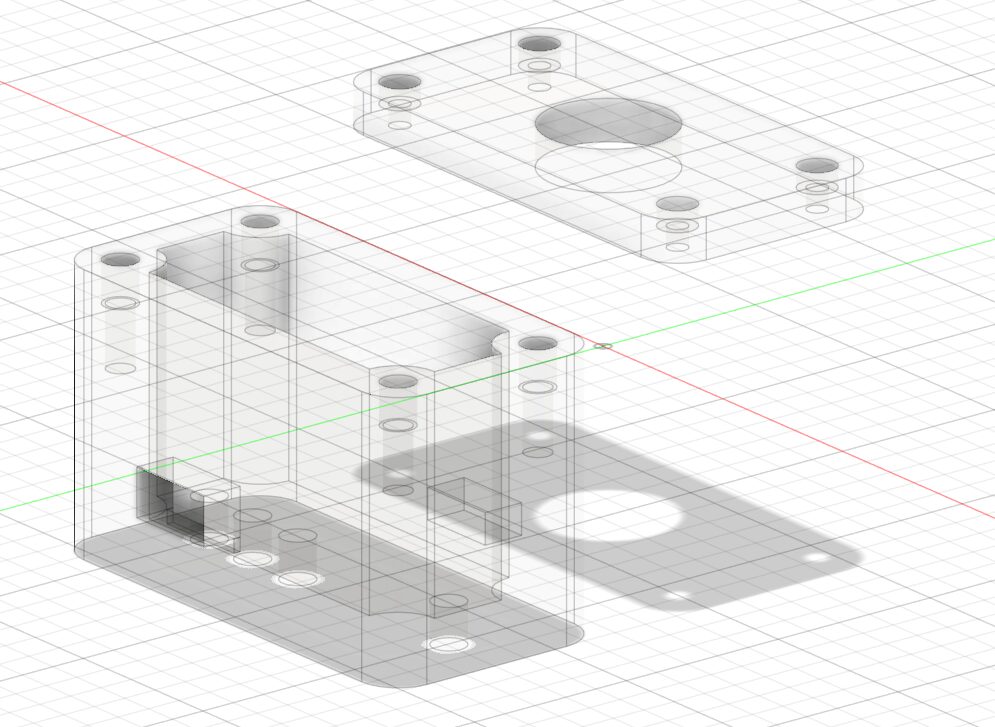
After a patient wait, I have finally received all the pieces I need to assemble design the box. I opted for a new approach this time. I normally model my contraptions in Blender as I have learned 3D modeling with this tool and STL files are 3D models, but I wanted to do something different; I wanted to try Fusion 360. I heard it was pretty sweet to do models for printing… Oh boy, I was in for quite a ride! Without further ado, here’s the finished design:

The next part will be to print it, or to make sure the printer is able to print, then print it.
In retrospect, the parts that I choose are probably not the best suited for that application. As an example, the USB-C connector, is not just a connector but has a breadboard and requires me to cut a much bigger hole than just a typical USB-C hole. Plus, there’s no mounting holes on that one meaning I’ll have to … hot glue the connector in place? or use CA glue, not sure yet (shall cross that bridge when I get there). And, on top of it (pun not intended), the switch is MUCH bigger than I thought it would be for the depth so, the box has to be much bigger for that reason… but that switch looks pretty cool. We learn eh?
To be continued…