Desoldering plate – pt1
Part 1 : why is it always broken when I need it?!
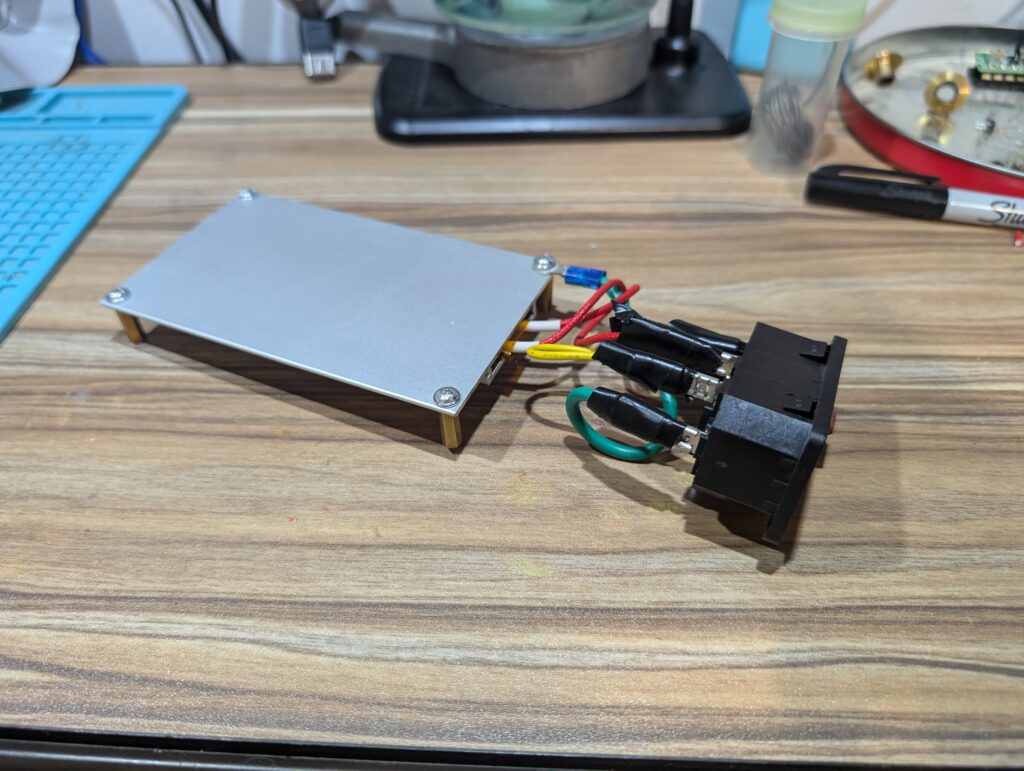
A little while ago, I grabbed that kit online to build a desoldering plate meant to “demolish” LED strips from TVs. The idea is simple: an aluminum plate that heats up and you put your part on it so the solder melts and you can remove the part easily with a pair of tweezers. Sounds pretty interesting considering I have a bazillion of boards that I want to depopulate. Now, here comes the fun part…
When I ordered, I didn’t pay too much attention to it. It’s a kit but not really “to assemble”. It’s more of a premade thing that has the element inside and the thermostat. So temperature is fixed to whatever they decided to use. It’s a bit sad but eh, it’s life and for the price, I can’t really complain.
Now, I’ve recently picked it back up and thought I’d set it up. My big surprise when the device has a making at the back saying : 220v, <5a…. First of, I’m NOT going to run that on 220, that’s way too intense. Also that’s 1000w+ of electricity?! On a 70x120mm plate?! I’m going to burn the house down if the thermostat doesn’t do a good job there! And finally, the “legs” that are supplied, are very very short, making the thing almost hug the surface under ( and it’s the part where the heating element is ). So the more it went, the least confident I was with that little plate.
Ultimately, I decided to plug it in with all the safety I could think of ( switch, fuse, ground pin and so on), and put it on the wattmeter to see how crazy that thing was draining power on 110v. To my surprise, nothing blew up (yay?) and it was only using 0.7a, and was heading really quick. I guess that is a success? And I’m a bit less worried about the power going in that thing now that I’ve seen it in action. I even added longer “legs” to raise it further, so it doesn’t melt whatever is under it.

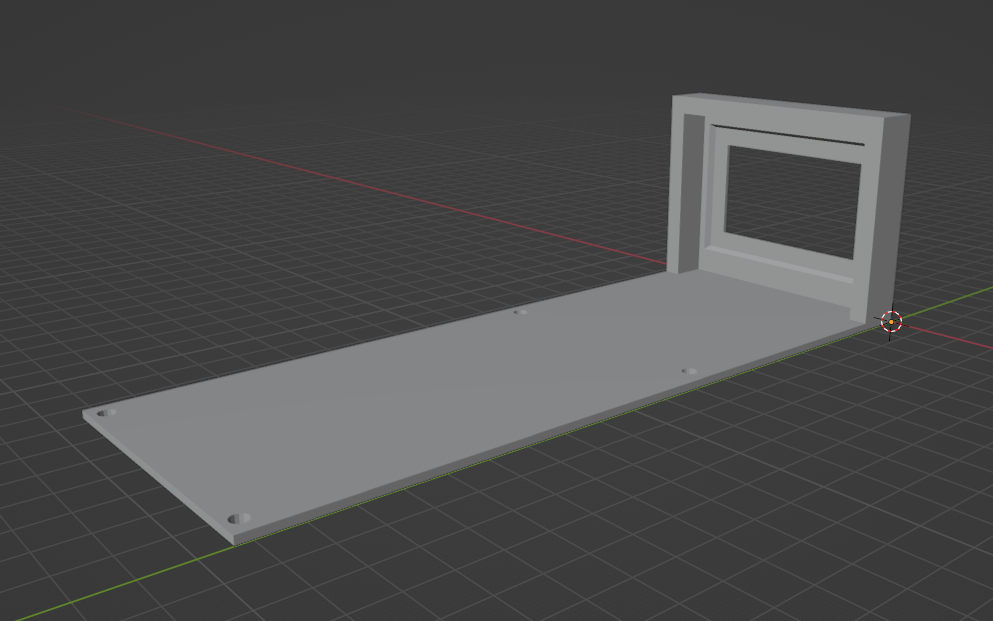
So I did the best thing I could ever do… Which means design a housing for the thing to be printed, with a power connector and all that jazz. The result are pretty satisfying ( and I’m reusing par of the battery system I made for the power connector ).

Now comes the time to print that baby and assemble! I get ready, slice the model and all that stuff. I’m eager to wait the 3h of printing to have a new toy to play with… But that’s when it happens…

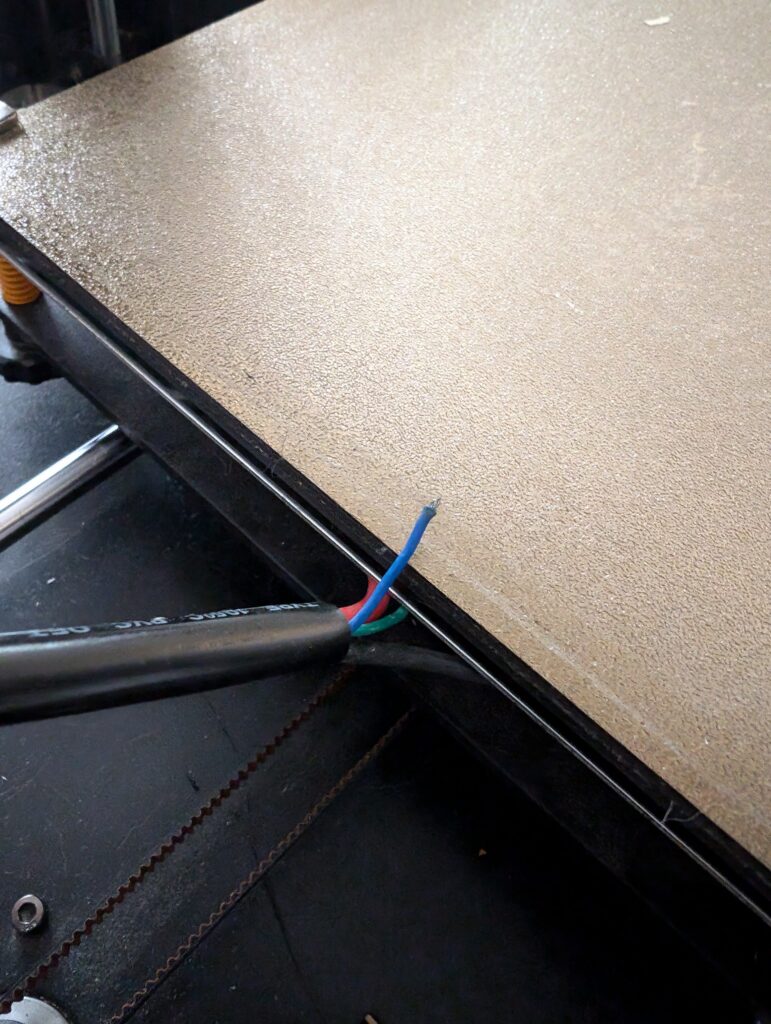
This is the bed of my 3D printer. As you can see, one of the wire has snapped off ( again ) and I’m not entirely sure I have the courage to dismantle it once again to fix it. I’ve been having a talk with partner to invest in a new printer for a while now and I think it’s going to happen sooner than later. Inbetween the pieces that breaks, the never ending calibration, the settings that suddenly no longer works and all that, I’m a bit done with that printer ( to be fair, it’s not a very recent one and it’s the first one we got, the survivor ). So, once again, why is it that every single time I need to use the printer, something is broken on it. :/
When I’ll have a printer that works, I’ll be able to print the damn thing and then I’ll have a desoldering plate available. In the meantime, I’ll stick with the hot air iron to dismantle what I need to.
To be continued…